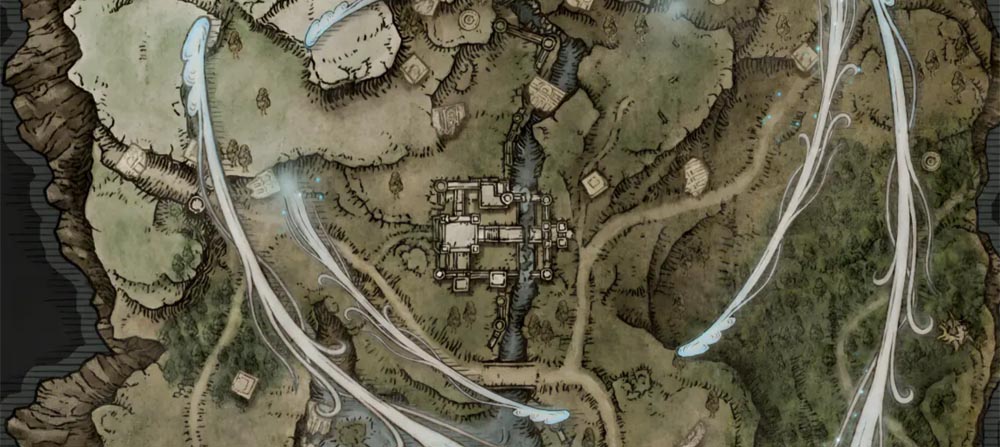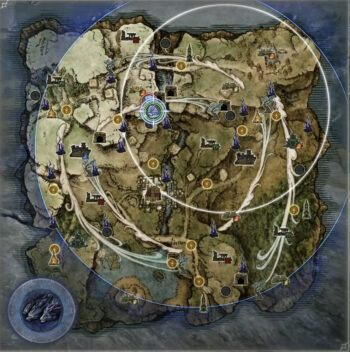
In this Elden Ring Nightreign Map Guide, we’ll explore every key map location in Nightreign, explaining not only where to go but why it matters for your progression. Whether you’re seeking to strengthen your Nightfarer, farm runes, or find rare upgrades, this breakdown will help you dominate Limveld. You can also check our Nightreign Interactive Map.
Churches and Great Churches
Purpose: Boost Healing Efficiency
Churches are sacred sanctuaries scattered across Limveld. By interacting with altars within these sites, players can enhance their Flask of Crimson Tears, increasing the number of healing charges they carry into battle. Great Churches, even rarer and more dangerous, often house powerful bosses and Sacred Seal rewards.
Tip: Prioritize visiting churches in the early nights of your run to maximize your healing potential before facing tougher enemies.
Camps
Purpose: Early Game Resource Hubs
Camps offer a perfect starting point for new Nightfarers. These small enemy encampments provide valuable early-game runes and essential loot. Clearing out a camp can set you up for your first level-up at a nearby Site of Grace and sometimes reward you with elemental weapons tied to fire, frost, or poison damage.
Tip: Look for weapon icons near camps to quickly find elemental gear that complements your class.
 Forts and Ruins
Purpose: Mid-Game Progression and Loot
Forts act as fortified strongholds packed with elite enemies and typically conceal a boss protecting high-value treasures like Stonesword Keys. Meanwhile, ruins hide secret basements and dangerous environmental traps — from toxic clouds to blood-loss hazards — but reward those who explore with rare gear and resources.
Tip: Use Forts and Ruins to bridge the gap between early leveling and late-game castle sieges.
Evergaols
Purpose: Boss Challenges and Rune Bounties
Evergaols are hidden combat arenas locked behind Stonesword Keys. Unlocking an Evergaol pits you against a level-scaled boss in a high-stakes battle. Conquer it, and you’ll not only gain a massive rune payout but sometimes unlock permanent passive buffs, giving you a crucial edge as the game advances.
Tip: Save your Stonesword Keys for Evergaols with the best reward-to-risk ratio by scouting first.
Shifting Earth Events
Purpose: Dynamic Bonuses and Map Transformations
Throughout the course of your run, Limveld will experience Shifting Earth events that reshape its geography and bestow powerful bonuses:
The Crater: Unlocks legendary weapon upgrades and remove level requirement.
Mountaintop: Grants frost resistance and increased damage versus dragons.
Rotted Woods: Confers full immunity to Scarlet Rot.
Noklateo, the Shrouded City: Provides an auto-revive mechanic upon death.
Tip: Monitor Shifting Earth changes carefully being in the right zone at the right time can turn the tide of battle.
Sites of Grace
Purpose: Safe Havens and Leveling Points
Sites of Grace are your lifeline across Limveld. These glowing waypoints allow you to heal, level up, replenish Flask charges, and set respawn points. Unlocking multiple Sites of Grace early ensures faster recoveries and shorter routes back into the fray.
Tip: Activate every Site of Grace you pass fast travel isn’t always possible when the map shifts.
Castles
Purpose: Endgame Loot and Elite Bosses
Castles are massive, fortified zones loaded with the toughest enemies and rarest treasures in Nightreign. Expect multi-tiered dungeons, several minibosses, and an ultimate boss guarding elite rewards. Conquering a castle is a badge of honor and a key to reaching the endgame fully equipped.
Tip: Aim to reach at least level 3 or 4 before storming castles for the best chances of success.
Spiritstreams and Spectral Hawk Trees
Purpose: Fast Map Traversal
Spiritstreams are powerful updrafts that launch players high into the air, allowing access to hard-to-reach plateaus. Spectral Hawk Trees summon mystical hawks that glide along wind currents, offering a fast, stylish mode of transportation across vast distances.
Tip: Learn Spiritstream and Hawk Tree locations early rapid movement is critical when repositioning during late-game encounters.
Sorcerer’s Rises
Purpose: Puzzle Towers and Rare Rewards
Sorcerer’s Rises are ancient towers that challenge players with puzzles often requiring you to activate specific objects or solve light-based riddles. Success unlocks high-tier weapons, spell scrolls, and powerful passive buffs perfect for hybrid or magic-focused builds.
Tip: Sorcerer’s Rises reward patience and observation slow down and look carefully for clues.
Field Bosses
Purpose: High-Value Combat Challenges
Field Bosses roam the wilderness of Limveld, offering some of the most brutal fights in Nightreign. From ancient dragons to titanic golems, these adversaries reward successful challengers with legendary weapons, rare armor, and even permanent stat boosts.
Tip: Field Bosses are optional but highly rewarding gear up before facing them.
Map Icons and Navigation
Purpose: Efficient Exploration
Mastering the map icons is essential for quick navigation. Each icon for a church, camp, fort, or Evergaol provides clues to what lies ahead. Learning these symbols allows you to plan your route and maximize your rune gains while avoiding unnecessary risks.
Tip: Use map awareness to plan safe upgrade routes between Sites of Grace and high-value zones.
With any luck, this Elden Ring Nightreign Map Guide will set you on your way and give you a better understanding of how to navigate around the map with your teammates.
For more on Nightreign, check our guides page.
